Controlling your home lighting by voice is a convenient and efficient way to manage the ambiance of your living space. By integrating smart home devices such as voice-controlled assistants or intelligent light bulbs, and LED Controllers, you can easily adjust the brightness, color, and scheduling of your lights with simple voice commands. This hands-free approach adds a touch of modernity to your home and enhances your living environment’s overall convenience and comfort. So, say goodbye to traditional light switches and embrace the future of home lighting control with voice commands. Today, let’s check how to control your home lighting via voice.
- The first thing you must ensure is that you have voice control input devices; the most popular ones integrated with Google Assistant or Amazon Alexa.

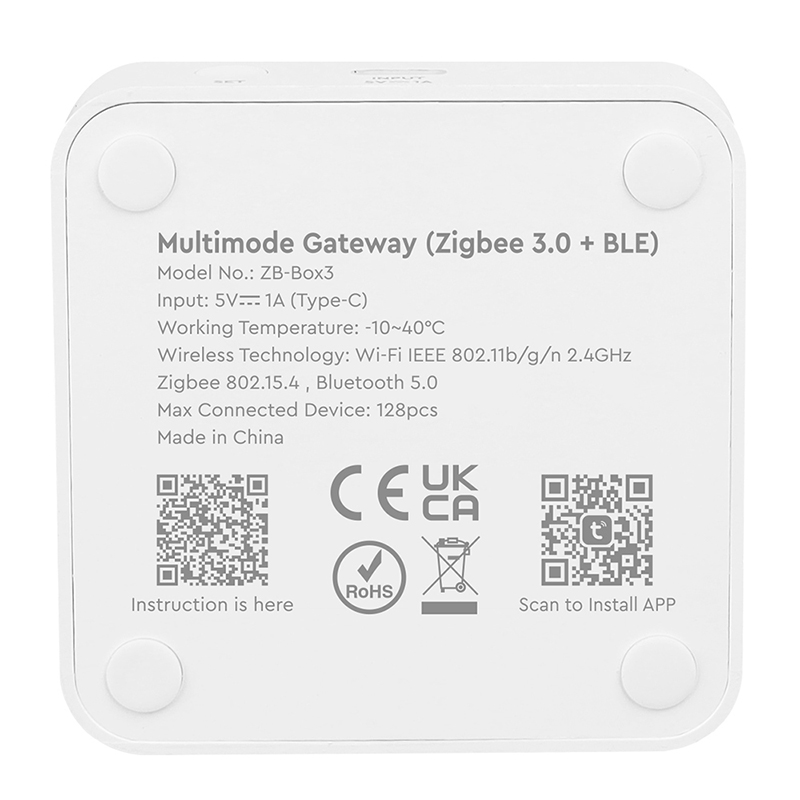
2. The second thing you must ensure is that the Smart LED Lights can connect to the voice control devices. Except the LED Lights with WiFi communication modules, otherwise you will need to the Gateways, 2.4G Gateways or Zigbee 3.0 Gateways.
3. The third thing is to add them to the various groups on your phone APP to control them separately or in groups.
Today, we will teach you how to do step-by-step operations to control the LED Strips by voice commands.
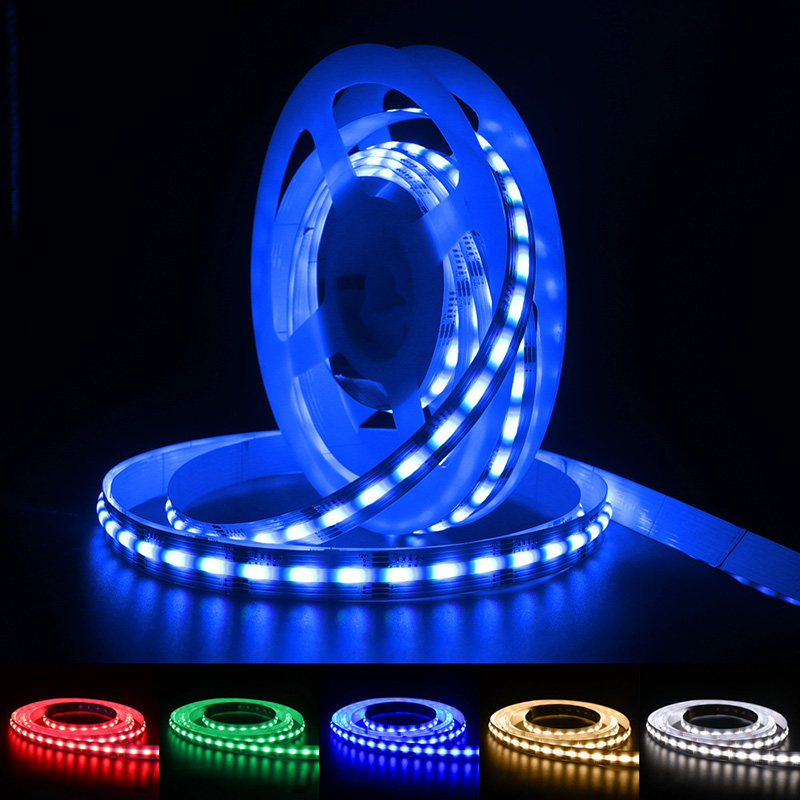
For the LED Strips, 3 main types of controllers are available that integrate 2.4G, Zigbee 3.0, or WiFi.
For the 2.4G LED Controllers, you will need the items below:
- LED Strips
- 2.4G RF LED Controller
- Power Supply
- 2.4G Gateway
- RF Remote Control(Not necessary)
- Wires
For the Zigbee 3.0 Controller, you will need the ones below:
- Strip Lights
- Zigbee 3.0 Controller
- LED Driver
- Zigbee Gateway
- Zigbee Remote Control(Not necessary)
- Wires
- Connectors
For the WiFi Controller, you will need the items below:
- LED Tapes
- WiFi LED Controller
- LED Power Supply
- Remote Control(Not necessary)
- Wires
- Connectors
There are various types of Strip Lights available; you can consider single-color, tunable white, RGB, RGBW, RGB+CCT, Addressable single color, addressable CCT, RGBIC, addressable RGBW, and addressable RGB+CCT. You can use them for various scenes. The IP20 or IP30 non-waterproof strip lights for indoor use only, and you can consider the IP65, IP67, and IP68 ones for outdoor locations.
How to install them in your space?
- Hide the Flexible LED Strips: you can use the IP30 non-waterproof and IP65 surface-coated waterproof LED Strips for indoor applications. The back with double-sided adhesive tape. It’s easy to remove the protector paper and stick it where you want to install them. I recommend adding aluminum LED channels to hold strip lights to achieve a clean and professional look while protecting the strips. The LED Profiles also can work as heat sinkers for better heat dissipation.
- Connect to the controller: choose the correct LED Controller for the LED Strips. If the controller can not be paired to the network directly, please add Gateway.
- Connect the controller to the LED Power Supply. Various output voltage LED Drivers are available. Before you purchase them, please ensure the output voltage is the same as the working voltage of LED Light Strips. For some short applications, you can also consider using a battery pack or power bank to light up.
- After the system is powered on, please test if all parts work well.
- Test if you can use voice commands to control the LED Lights.
By these following steps, you can easily control your home lighting using voice commands, adding convenience and flexibility to your living space.